Monday, 29 June 2015

Easy Cheesy Pasta


I'm one of those mums that likes to hide veggies in almost anything I can. I suppose hide may not be the right word since Miss E and Miss A are always helping me cook but they are much more likely to eat cauliflower if it's hidden in pasta sauce or sweet potato if it's in a pancake. The first version of this pasta sauce came about because I bought 2 huge cauliflowers for $3 at our local farmers market. I couldn't pass up a bargain like that but then I was stuck with a whole heap of cauliflower I had to use. So then came some experimenting and our Easy Cheesy Pasta.


The recipe calls for nutritional yeast, please don't be scared off by that unappealing name. I was put off from using it for a long time because really nutritional yeast does not sound appealing at all. Eventually I gave in and tried it. Let me say I was annoyed that I'd put off tasting this awesomeness (lets pretend that's a real word). The taste is hard to explain, it's somewhere between a cheesy and nutty flavour. 


.

Okay so enough with the babble and on to talking about the recipe! Start by steaming the vegetables until tender. This took me about 20 minutes in my very overloaded steamer. I was doing a quadruple batch, so that's a lot of veggies to steam. When it's done steaming I usually use that same water to cook my pasta. Tonight we used rice pasta. It's gluten free, organic, had no egg, dairy, corn, soy, additives or preservatives. Plus it was on sale at my local IGA, which is always a bonus.


Tim and the girls eat meat so usually they have chicken or bacon added to their mix so now I put that onto cook. While the meat and pasta are cooking I fry off my onion and garlic (if using) and then add the coconut milk and nutritional yeast. If you are adding cheese to your mix you would add that at this point too. Then I add the vegetables and blitz it all up using my stick blender. At this point the pasta is usually ready so I drain that, add it to the pan with the sauce, mix it through. Then I add the meat (if using) top with spring onion and it's done! 


Base Recipe

Safe pasta of your choice, cooked according to packet
2 1/2 cups cauliflower florets
1 tablespoon of oil (we used coconut oil)
2 cloves garlic crushed
1 small onion diced
aprox 1/2 cup coconut milk (or safe milk alternative)
2 to 3 tbsp nutritional yeast
Spring onion (optional)
1/2 tablespoon fresh chives, chopped (optional)
Salt and pepper to taste

1. Steam cauliflower tender. Set aside
2. Place a medium size saucepan on a medium heat. Add oil and fry off garlic and onion until soft.
3. Add coconut milk, nutritional yeast then using a stick blender, food processor or blender, blitz the cauliflower and coconut milk mixtures together until smooth. If the sauce seems too thick you can add more milk a little at a time.
5. Return to stove and heat through. Add chives, salt and pepper to taste.
6. Mix pasta through sauce and serve. Top with spring onion, (optional)

Variations

  • Add cooked bacon or chicken in step 6. (Adding bacon is a hit with Tim!)
  • Reduce cauliflower to 2 cups. Add 1/2 cup of pumpkin. 
  • Reduce cauliflower to 2 cups. Add 1/2 cup pumpkin and 1 zucchini
  • Replace cauliflower with 2 - 3 zucchinis and 1 1/2 cups of pumpkin. 
  • Add 1/2 a cup of safe cheese (lactose free, vegan, soy etc.) at step 3.
  • Replace coconut milk with cream. We have tried lactose free and it makes a delicious creamy texture.
  • For low FODMAP version omit garlic and onion. It still tastes great without it. In fact the zucchini and pumpkin option with no garlic and onion is my favourite variation!

I'm sure there are many more variations that can be made too! We have added carrot and mushroom in the past. We've mixed it up with different herbs. My recipes are all about being adjustable to suit your dietary restrictions, tastes and budget.

Happy Cooking!
Jasmine!


Friday, 26 June 2015

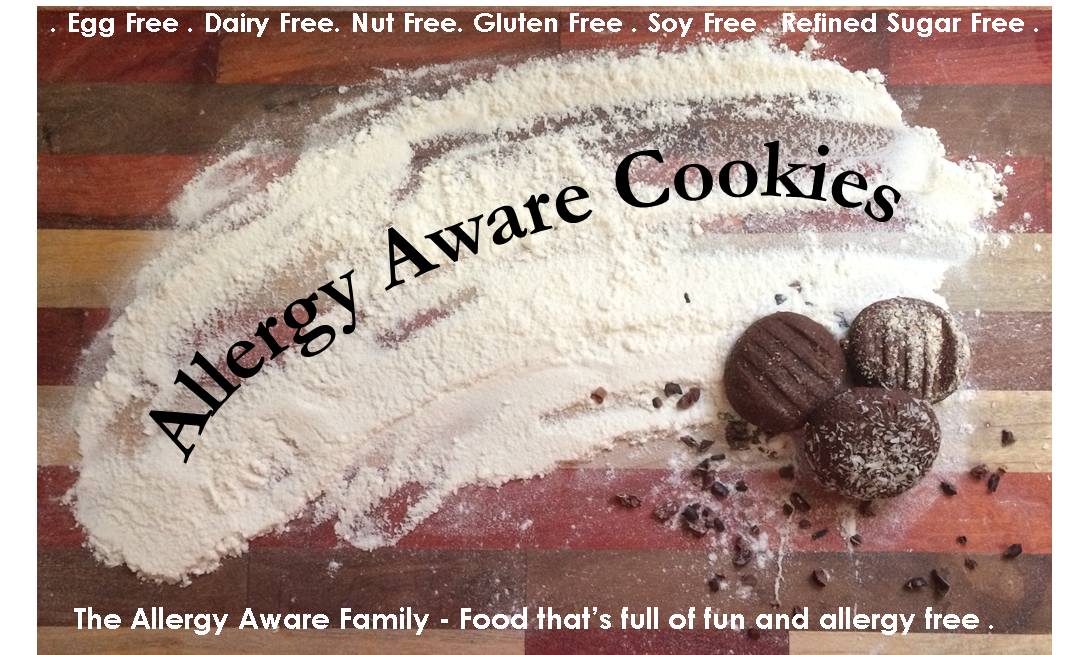
Allergy Aware Cookies


Here it is, my first recipe post. This is a little nerve-racking but super exciting! I switched back and forth when deciding which recipe to start with. I wanted something that was easy enough that you won't get scared off, had options to cater for a wide range of allergies, but still tastes great. In the end I let Miss E and Miss A choose between Allergy Aware Cookies and Coconut Muffins. The cookies won, so here we are!

When I was developing the recipe for these cookies I tried a few different methods and flour combinations before finally deciding on 2 options. One which is gluten free and one using spelt flour, but more on that later. I wanted something that could either be a plain chocolate cookie or something we could fancy up a little. So we have a base cookie recipe and where it goes from there is totally up to you! There are lots of options when it comes to your choice of milk, topping and sugar in this recipe. The recipe is totally customisable to suit your family's dietary requirements, tastes, budget and what you have in your pantry.


We start by mixing the chia seed and milk together and set it to the side to thicken. To make life easier every Monday I grind up as many chia seeds I think I will use in a week and store them in a glass jar in the fridge. I use them often so chia never lasts me very long! The chia and milk combo in this recipe is to replace egg, the extra chia in the gluten free version is to replace the need for xanthan gum (a tip I picked up  here). If you don't have egg or gluten allergies in your house why not try it with an egg instead? Let me know how it goes! You can use any milk you like here. We have tried coconut milk, almond milk, rice milk, lactose free cows milk and goats milk, they all worked out beautifully. Now leave the chia mix to the side to thicken.


Now its time for the sugar and coconut oil mix. We have tried this recipe with coconut and Rapadura sugars. I prefer Rapadura but Tim prefers coconut sugar, although I think the coconut sugar works better in the gluten free version than Rapadura does. We are yet to try any other sugars or sweeteners but I'm sure there are many you could use. We use coconut oil here in place of butter or other fats. We have never tried it with any other kind of oil but if you give it a try be sure to let me know how it goes. You could try butter, ghee, maybe shortening? Have a play and see what works for you. 

Moving onto sifting the rest of our dry ingredients. When it comes to flour choice in our house the gluten free combo of sorghum and tapioca is a real winner. It does have a little of of the texture that gluten free baked goods tend to have but you will be too busy eating to notice! I've also given the option of spelt flour as I know that for some people gluten free baking and mixing your own flours is intimidating. We made a batch with spelt this week with some friends and the kids loved it! If you don't have to worry about gluten why not give it a go? By the time I've sifted all the dry ingredients the chia mix is ready. It should be nice and thick and it's time to move onto combining all the elements together.


You beat the sugar and chia mixes together and then add the flour mix a small portion at a time. Doing it slowly gives you a better texture and you don't end up with clumps of unmixed flour. 
The mix then gets covered and goes in the fridge for an hour. I use that time to pre-heat my oven, clean down my bench and get any toppings ready. For our most recent batch we did coconut, cacao nibs, a few plain and even some with a dollop of refined sugar free jam in the centre. We like to mix it up and do a number of different toppings in each batch.


Now you are ready to roll and top! I like to do balls just under 1inch in size. I dip them in toppings like coconut but with cacao nibs or vegan choc-chips I like to mix them through a little and then roll the ball. I place them all on a tray, press with a fork and send them off to the oven!

When you bake them, cook them until just before you think they are done. In my oven it takes about 13 and a half minutes to get the right consistency. They firm up on the outside as they cool but stay nice and fudgy on the inside. Cookie perfection.


I can't wait to see what combination you come up with. Make sure you let us know how this recipe goes for you!

Ingredients


For gluten free
1 1/3 cups sorgham flour
3 tablespoons of tapioca flour

If you don't need a gluten free option use
1 1/2 cups Spelt Flour

1/2 cup milk or milk alternative
1 tablespoon ground chia seeds (add 1 teaspoon extra if using the listed gluten free option)
1/2 cup organic coconut oil, melted
1 to 1 1/2 cups coconut or Rapadura sugar (amount depends on your preference for sweetness)

1/2 cup cacao power (make sure it's cacao not cocoa powder!)
1 teaspoon baking powder
Pinch of sea salt


Optional Toppings
Shredded coconut, almond meal, almond flakes, cacao nibs, allergy friendly/vegan choc-chips. The only limits are your family's dietary requirements and your imagination!


Method
1. In a small bowl or cup combine milk and chia seeds. Whisk with a fork and set aside.
2. Using a cake mixer, mix sugar and melted coconut oil until combined.
3. Sift flour, cacao, baking powder and salt into a separate bowl. Set aside.
4. Whisk the chia mix with a fork again (it should be much thicker than it started) and add to the sugar mixture. Mix until well combined.
5. While the mixer is on a low speed, add the flour a small amount at a time until all combined. Shape dough into a disk, cover and refrigerate for at least an hour.
6. While the dough is in the fridge pre-heat your oven to 175C , line 2 oven trays and get started on sorting out your toppings.
7. Remove dough from fridge and roll into 1 inch balls. At this point you can leave them plain or add your toppings.
8. Place onto a lined tray leaving space for spreading. Press each one down with a fork.
9. Bake for 12 - 15 minutes.
10. Leave cookies to cool on tray for 5 minutes before moving to a wire rack to cool completely.


So what do you think? Let me know here, on  Facebook or Instagram. We have a batch of these delicious morsels, some coconut muffins and chicken here ready to take to a Playgroup shared lunch (recipes for those coming soon). Shared lunches are such a scary thing for allergy families!

If you have any allergies or intolerances that you want me to cover just let me know and I will do my best to develop and adapt recipes to suit your needs. 
As I test and develop for substitutions I'll update my recipes. 

Happy Cooking!
Jasmine x

Thursday, 25 June 2015

About Us

Hi! Thank you for coming over and visiting our little blog!
I'm excited to introduce myself and my family to you. Here is a little about us.

From the Left : Miss A, Tim, Miss M, Me (Jasmine) and Miss E

Jasmine (Mum)

Wife. Mother. Cook. Loves Baking. Avid Reader. Purple Hair. Passionate about Advocacy.

Tim (Dad)

Husband. Father. Musician. Kind. Patient. Bass Guitar. Kitchen Hand. Taste tester.

Miss E

Four and a Half. Daughter. Sister. Kindy Kid. Cuddly. Sweet. Independent. Horse Mad.

Miss A

Three and a Half. Daughter. Sister. Giggly. Outgoing. Pirate Obsessed. Fox Loving. Will put sauce on any food.

Miss M


One. Daughter. Sister. Adventurer. Cheeky. Never Sits Still. Adores Baby Dolls. Bundle of Crazy.

We are a family with multiple severe food allergies and many food and chemical intolerances thrown in. When I first started having to cater for multiple allergies I was so lost and confused. I remember many moments of frustration and tears when I couldn't find a single recipe that we could all eat. I would look and look and look to try and find something that would work but could never find anything. Food shopping was a nightmare. Each meal I would go into my kitchen, rifle through my pantry, throw things in a bowl and hope for the best. We have never had a true disaster in the kitchen so I must not be doing too badly!
After recently finding out that 2 of our girls are also reactive to preservatives and additives, we went though our cupboard and threw out anything that has additives or preservatives. We are feeling so much better for it. We are still adapting and learning, trying to find new ways to create tasty food that kids will eat (especially fussy Miss A!) but everyday I learn something new. All of my recipes are egg, dairy, nut, preservative, additive and refined sugar free. Most will also have options for gluten and soy free. Sometimes we do use almonds (the only safe nut in our house!) but I will always include a nut free option.We also have a friend with fructose malabsorption so many recipes will cover that too. If you have an allergy or intolerance you would like me to develop a recipe for just let me know and I will give it a go.
Thank you for taking the time to check out my blog and read about my little family. I hope that in return I can inspire you get creative with allergy aware, family friendly cooking. I'm learning new things everyday and can't wait to share my recipes and ideas with you.


PS. All the photos in this post were taken by my talented SIL Hannah, from Palindrome Photos. You can find her Facebook page HERE